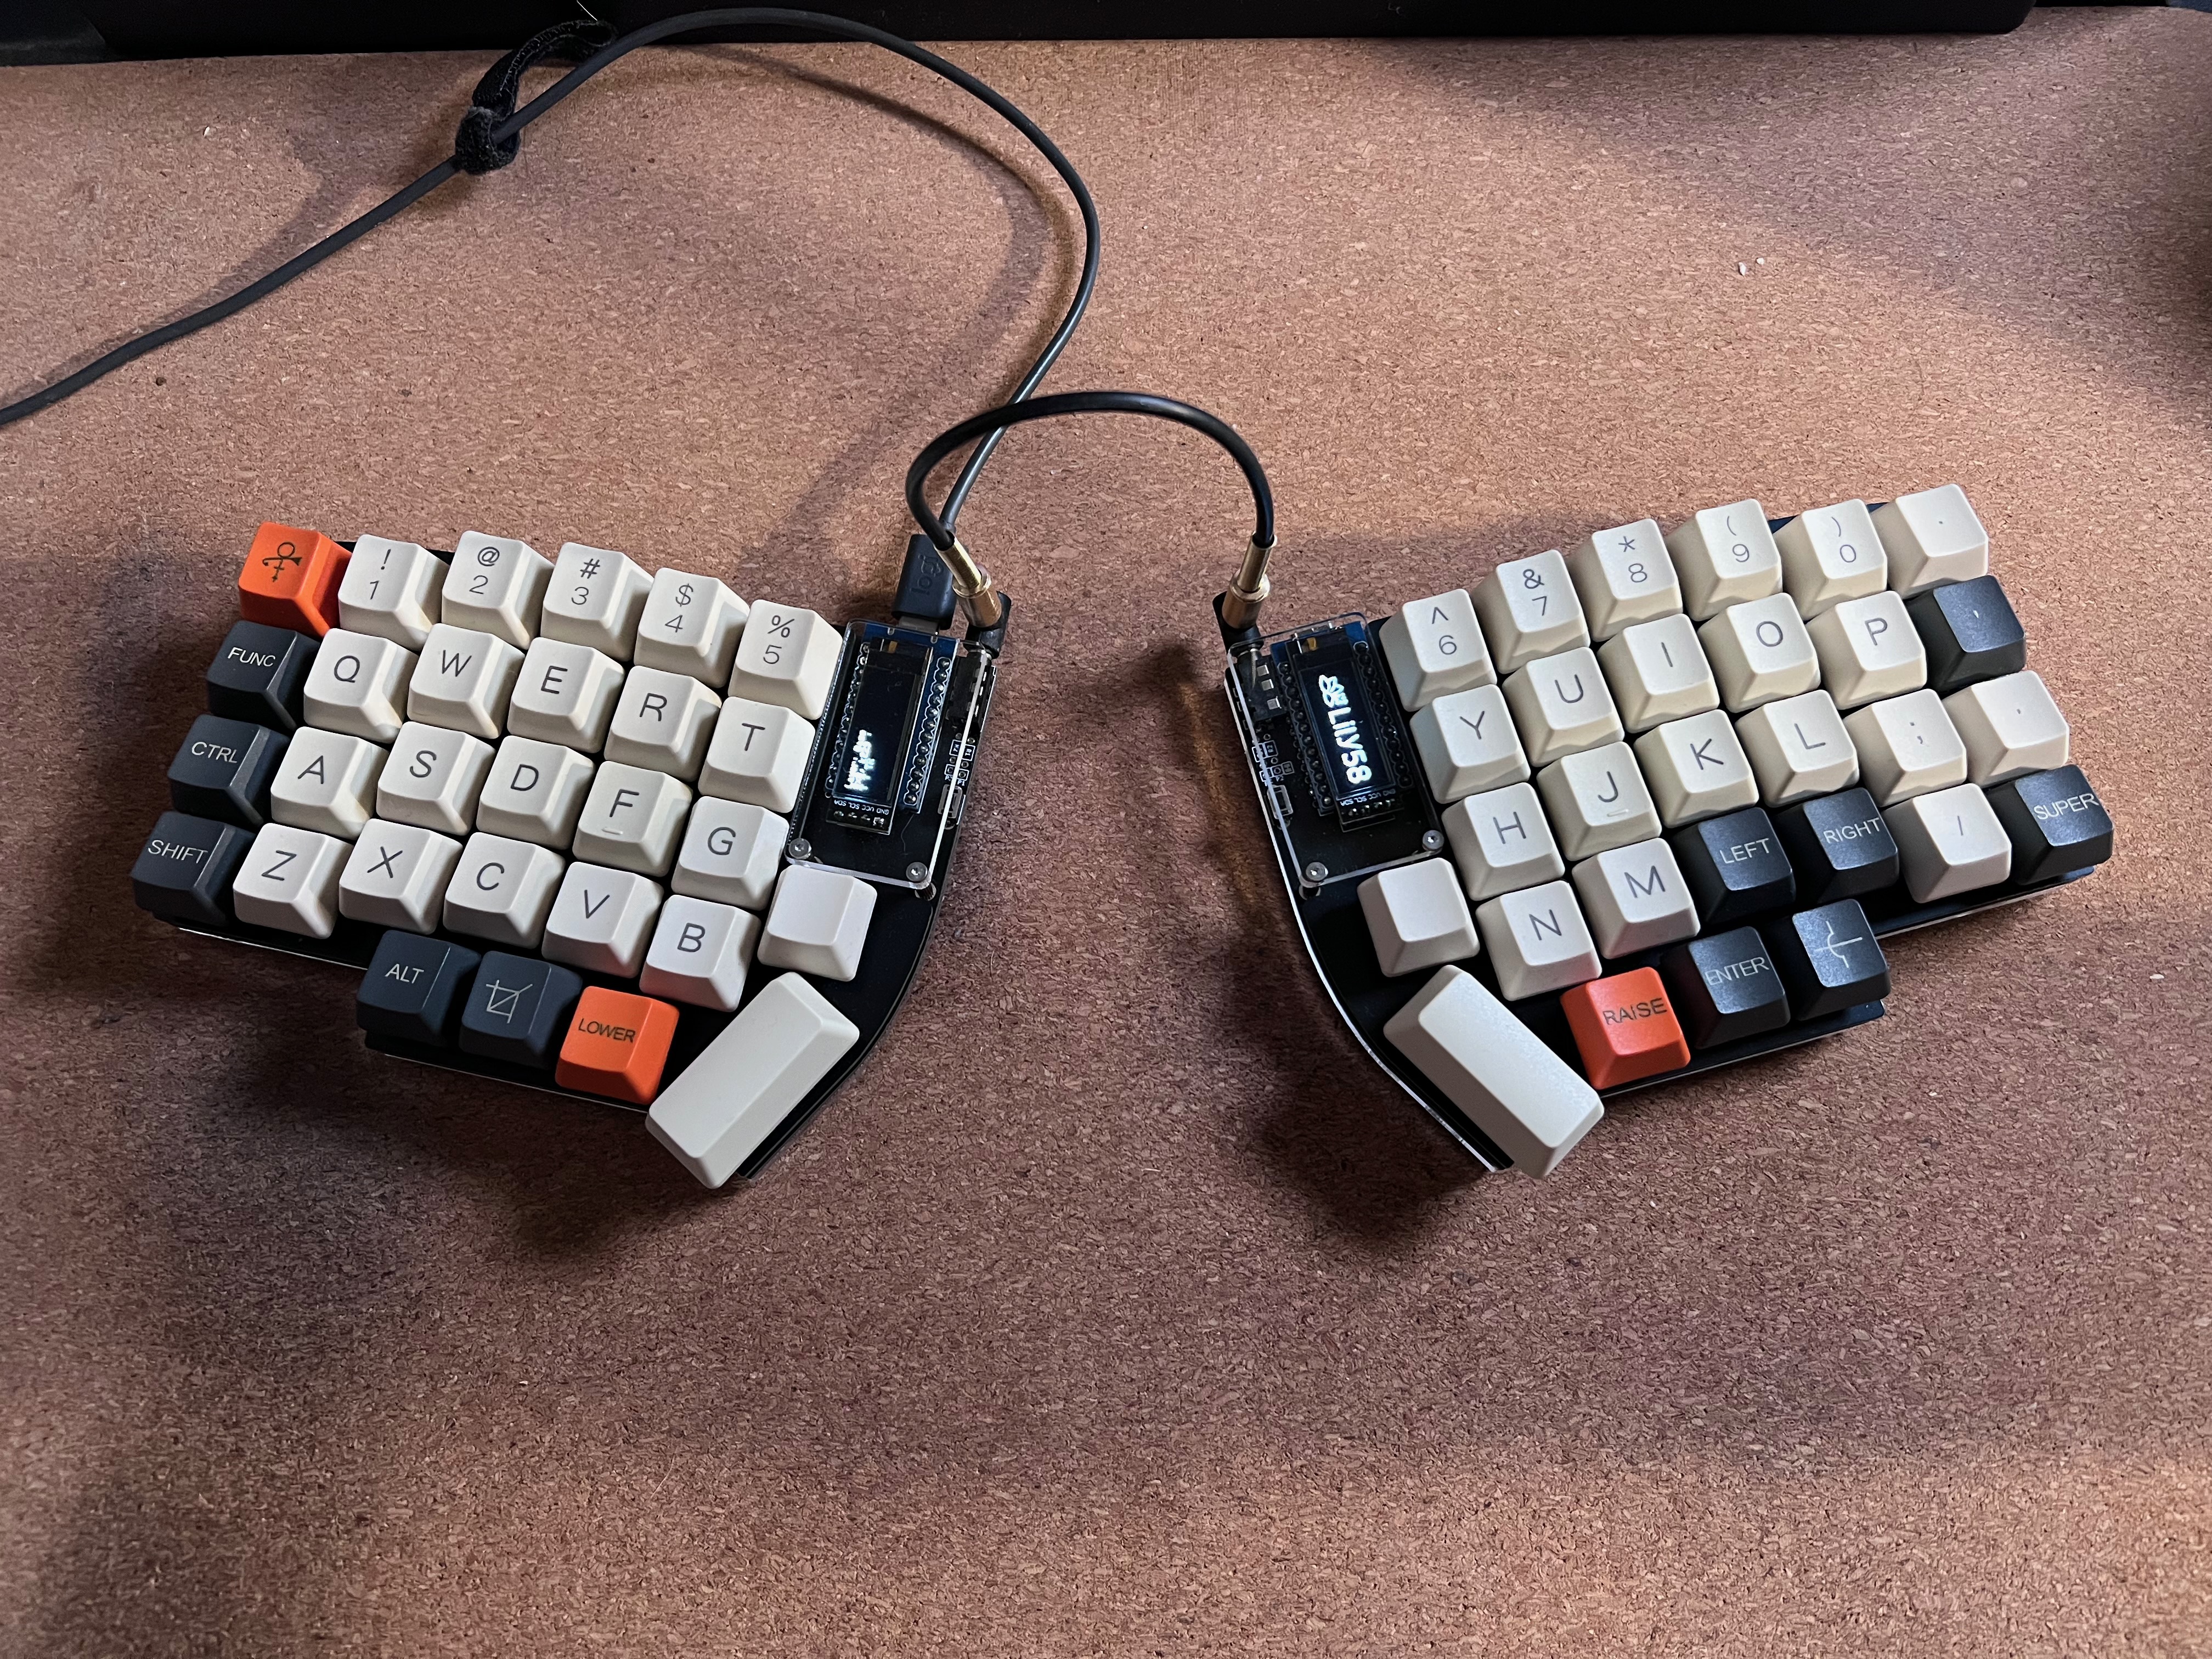
So about a month ago I took the plunge into the DIY keyboard space and ordered a split keyboard kit called Lily58 kit from keebd.com. In this post I'm going to go over the parts, building process and my current thoughts on the keyboard.

The parts
There are a few stores selling the Lily58 kit but I ordered mine from keebd.com. The price for the kit was 55.95€ before taxes. Keebd.com is located in Australia and I'm in the EU so I of course had to pay customs and taxes on top of that. Total for the kit shipped to Finland was about 110€.
The kit contains everything else except switches, keycaps and the microcontrollers. Keebd.com does offer microcontrollers you can include in the purchase but I decided to order them (along with the switches and caps) from AliExpress. Ordering random microcontrollers from AliExpress can be a bit of a gamble but in this case I had no issues with them.
Parts list
In total the parts cost me around 150 € which is not bad in my opinion.
The build
Building the keyboard was pretty straightforward but I did have a few hiccups...
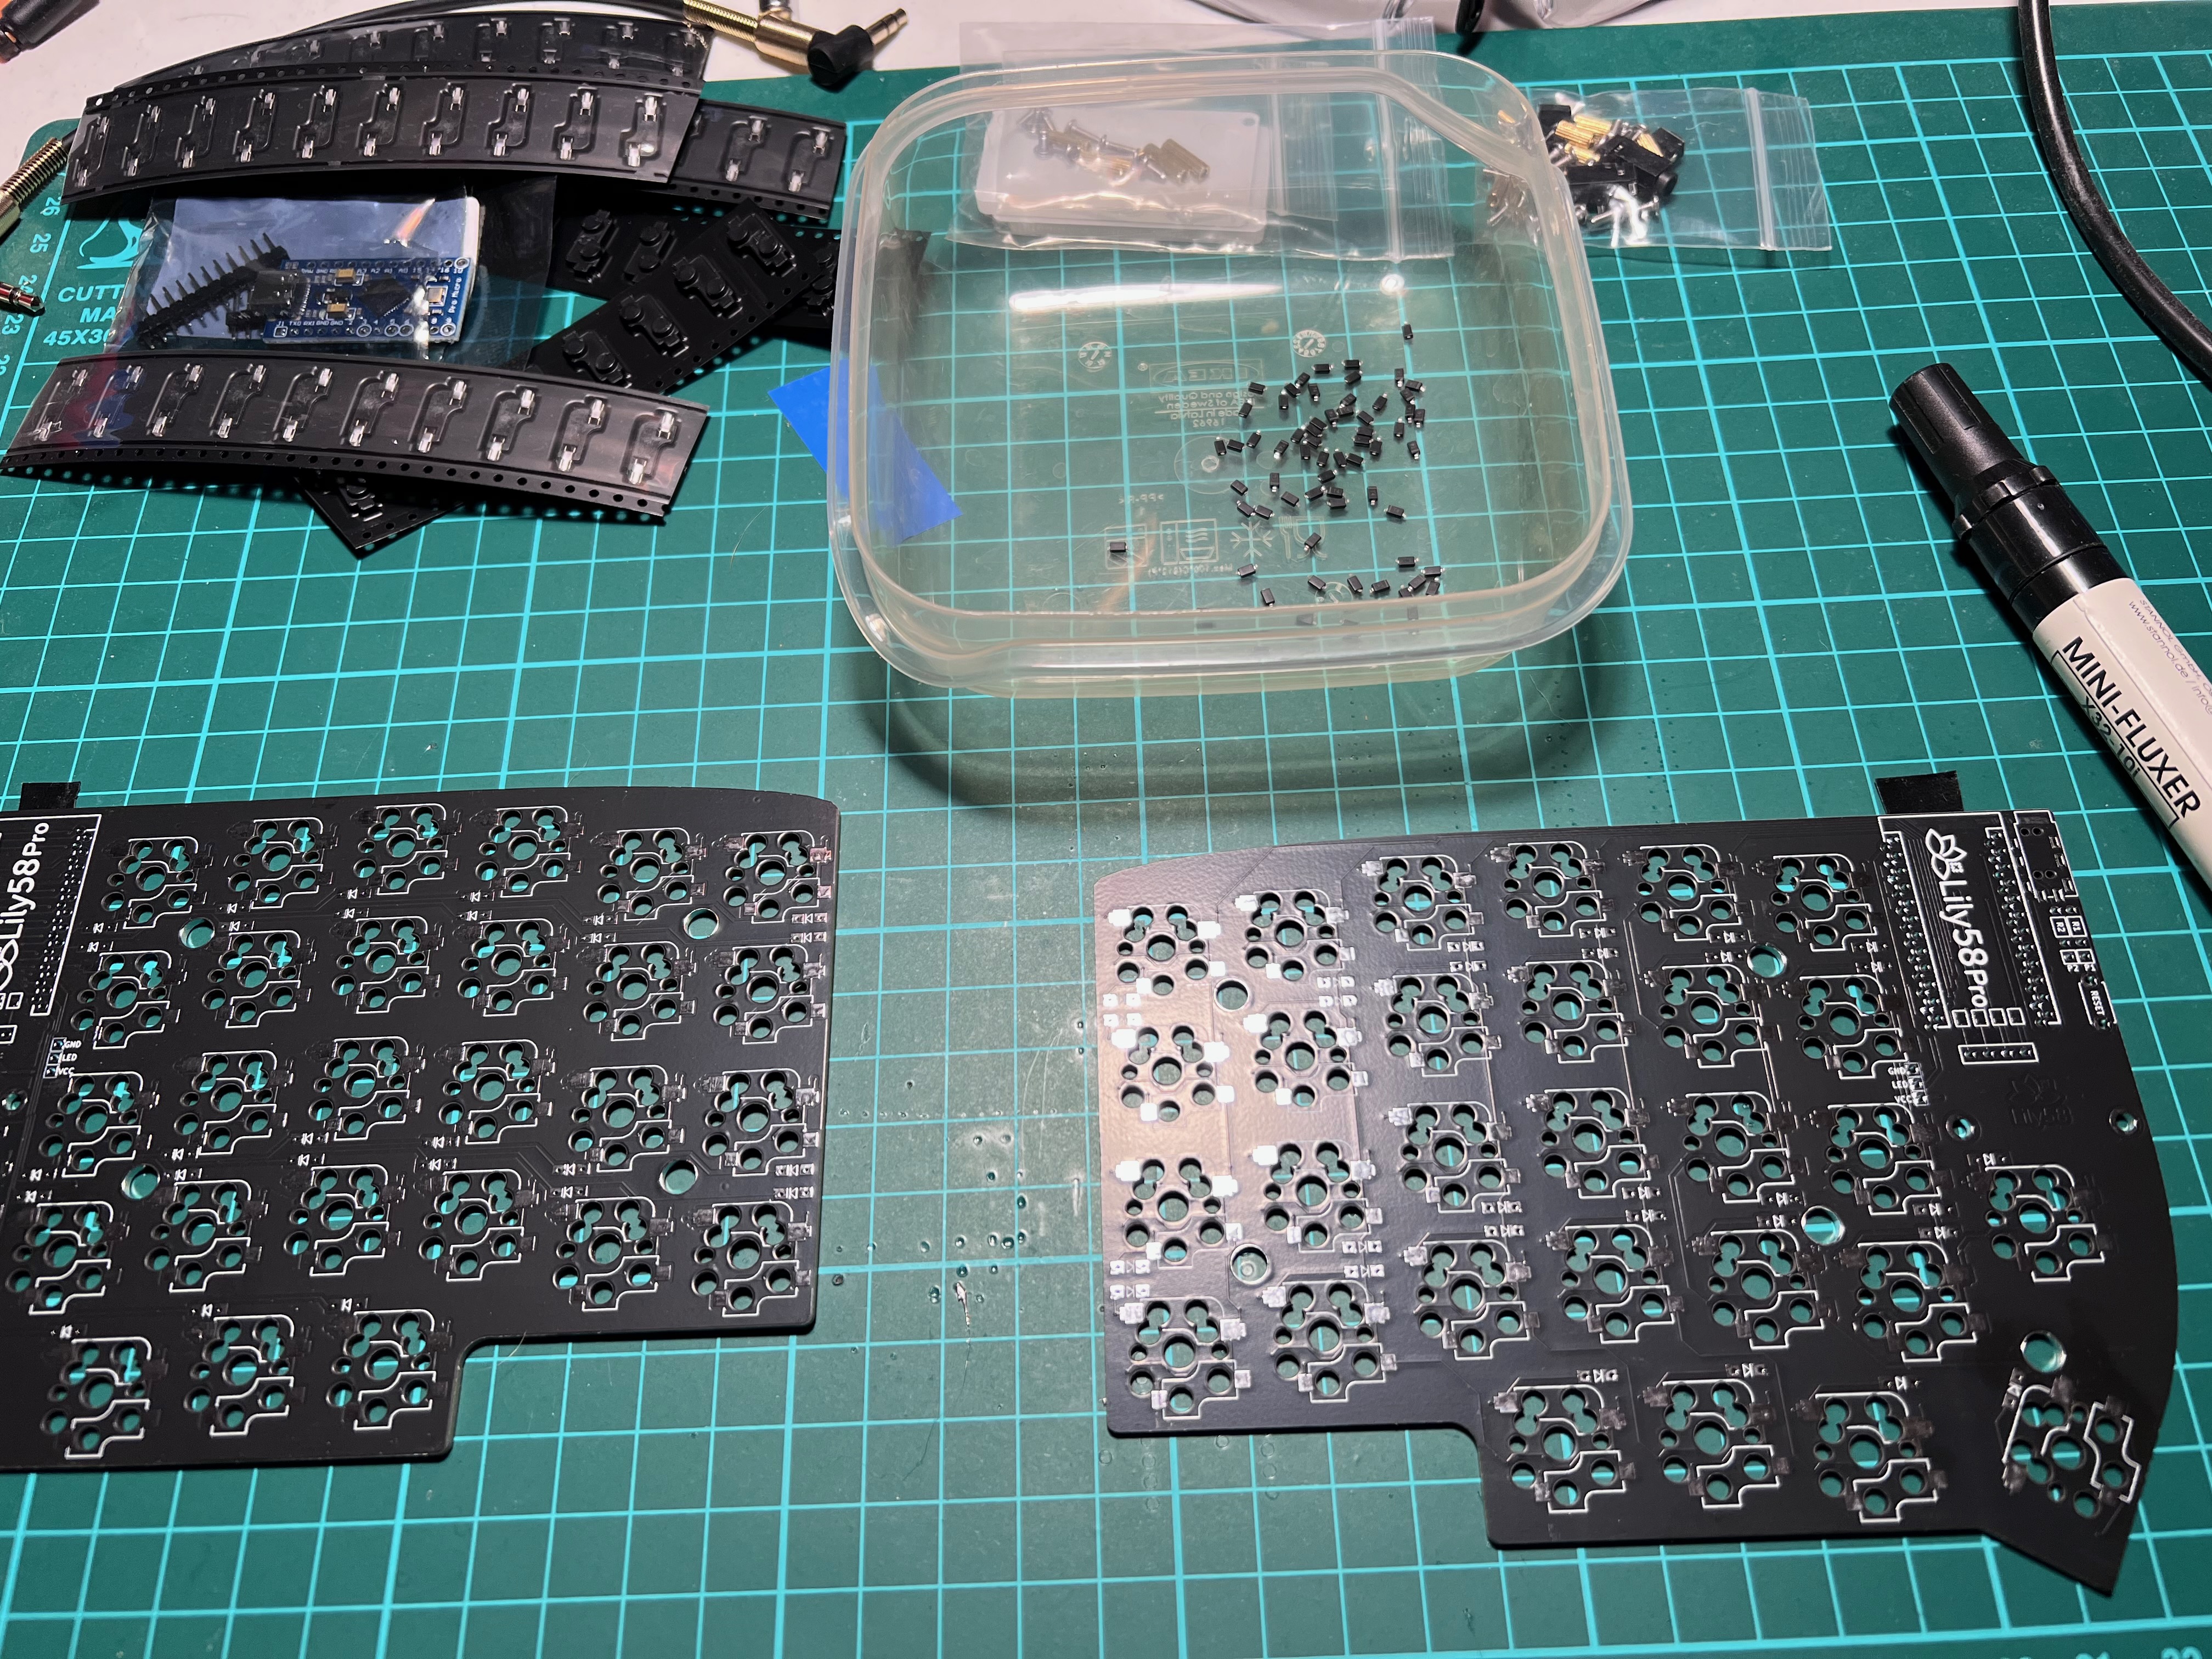
With the Lily58 you only need to solder diodes and switch sockets for every key, reset switch, TRS jack for connecting the halves and the two microcontrollers and their displays.
I started by soldering all the diodes followed by the switch sockets. This didn't give me too much trouble even though the diodes are tiny and pretty easy to loose.
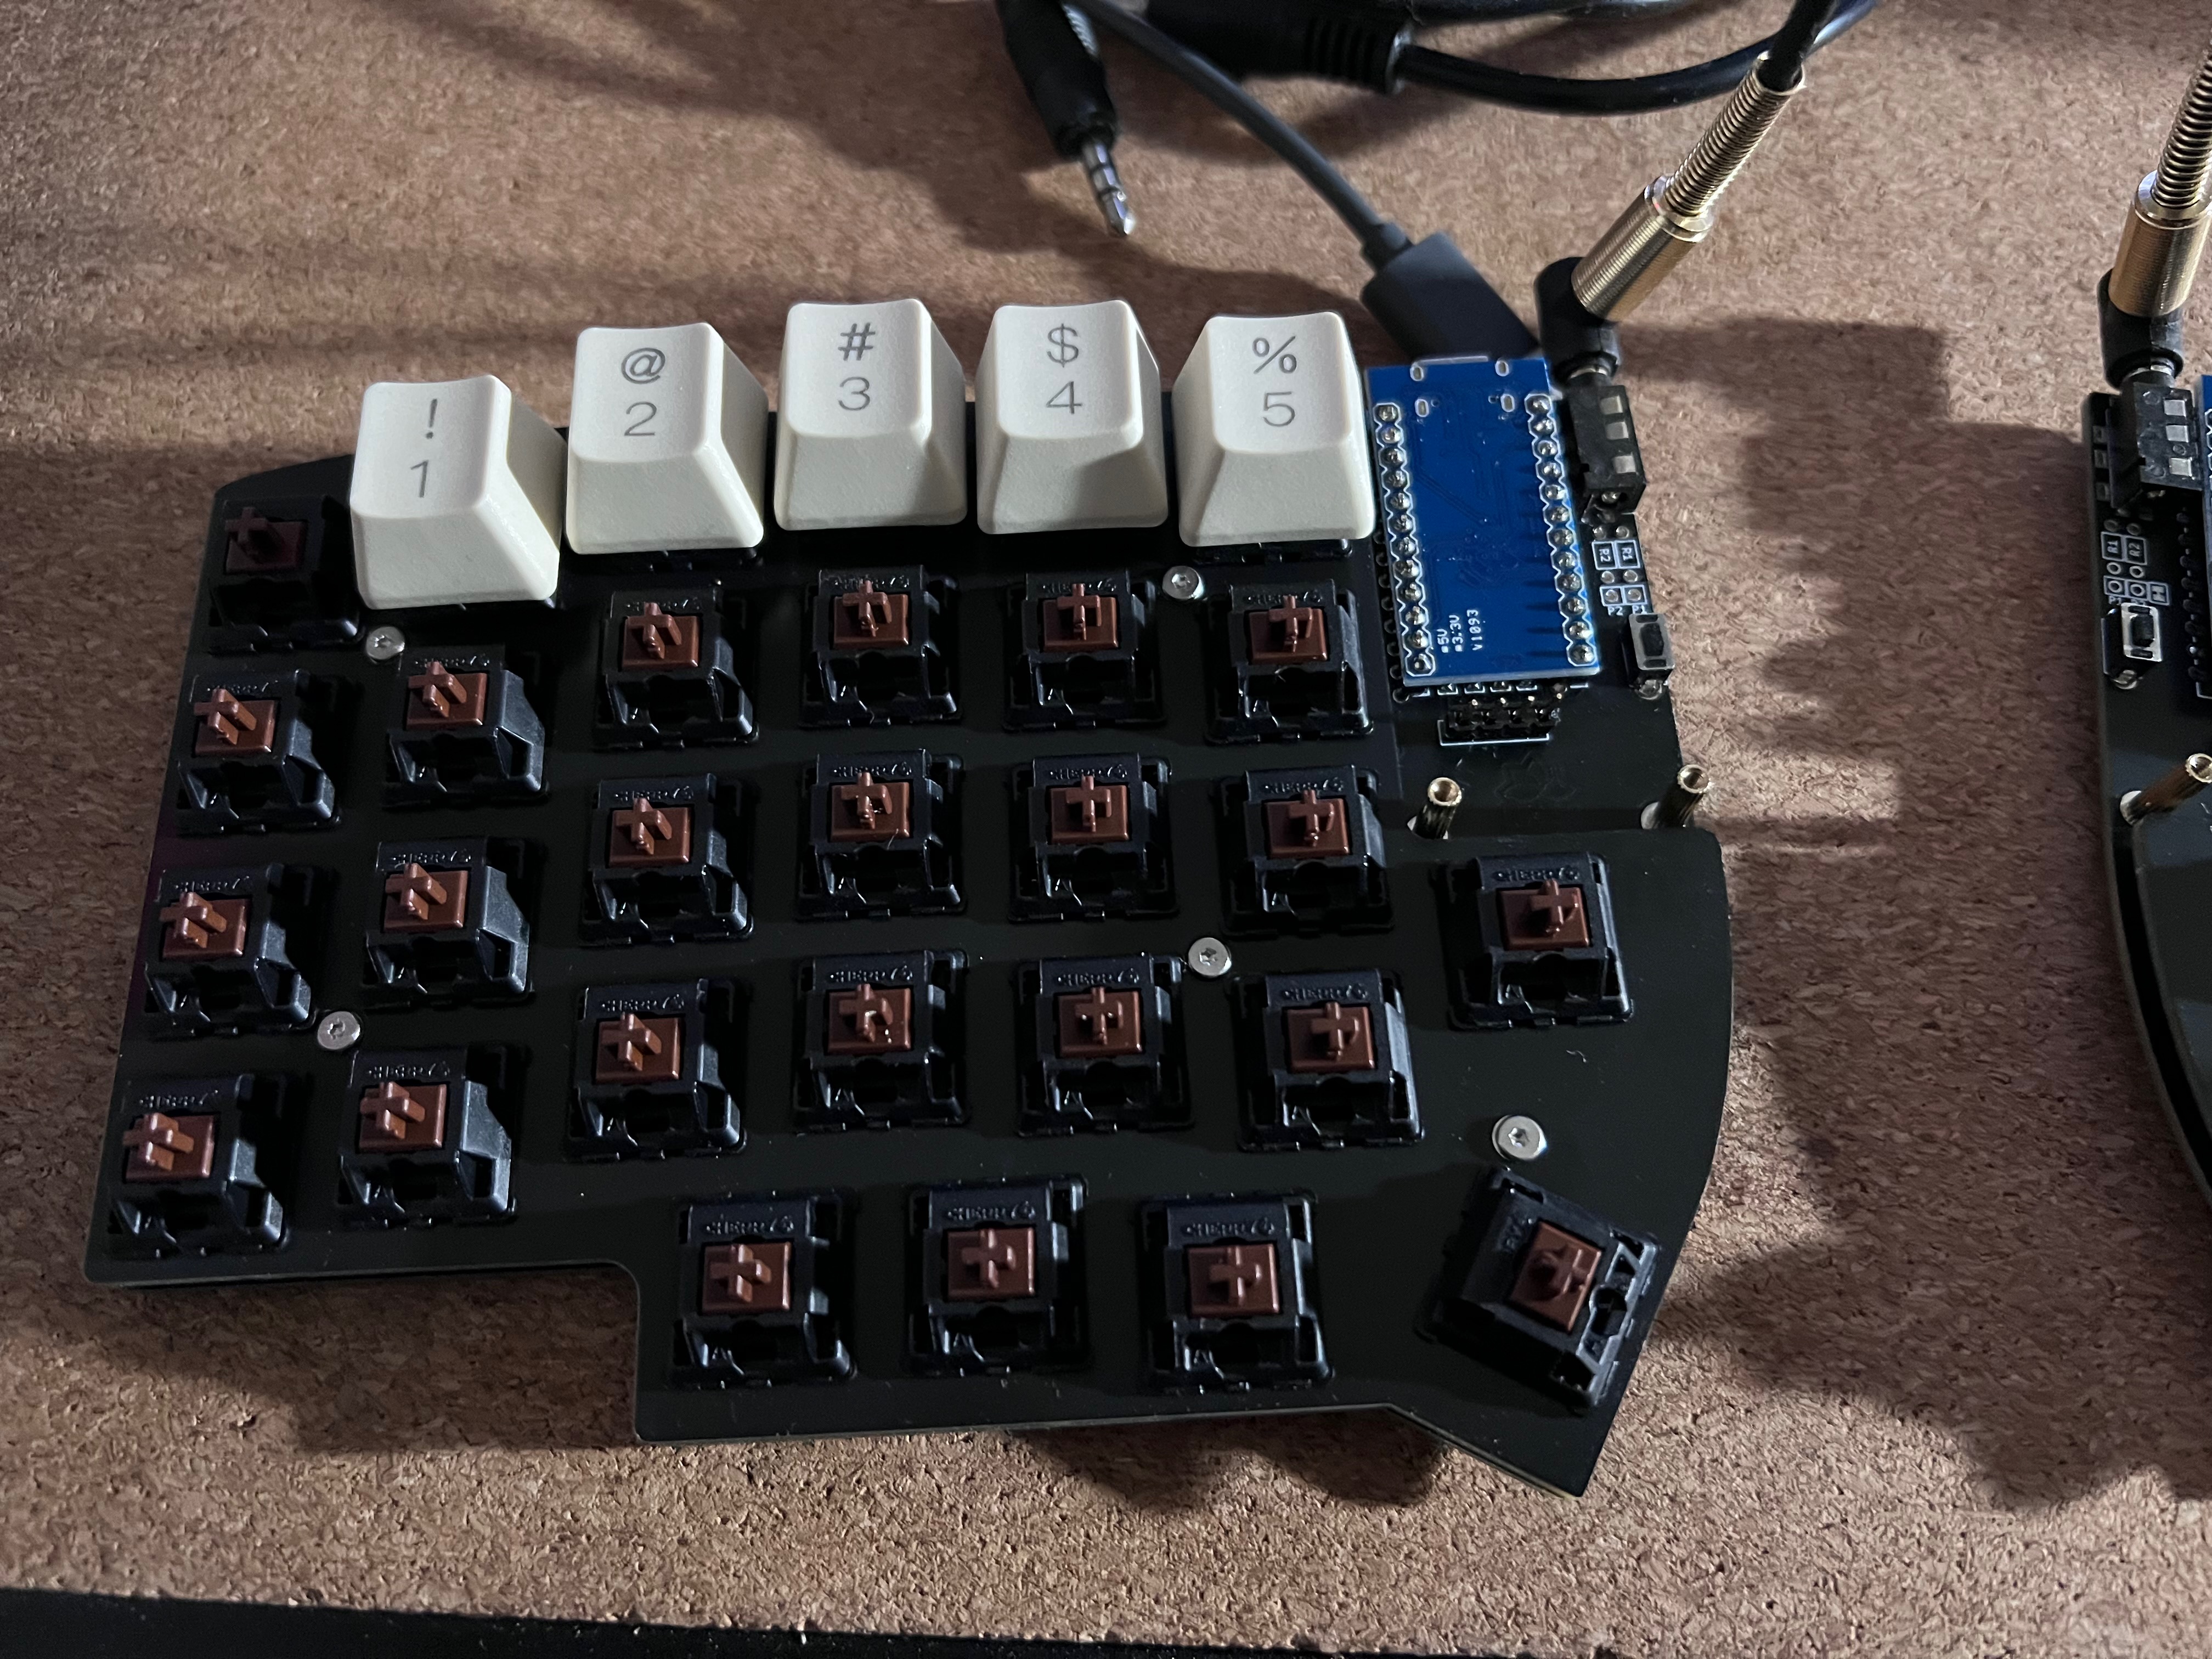
After soldering most of the parts I realized I hadn't ordered proper sockets for the microcontrollers. In stead of ordering them and waiting again for few weeks I decided to solder the microcontrollers on the board and hope for the best. I don't have any proper desoldering tools apart from solder wick so if the microcontrollers didn't work I would be shopping for a desoldering stations.

Some issues..
After installing the Arduino boards I flashed them with QMK firmware (after some trial and error) and to my disappointment the right half of the keyboard didn't seem to work at all. At first I thought it was a problem with installing the firmware but after inspecting the soldering of the microcontroller I noticed a solder bridge between two pins. I removed the excess solder with a solder wick and the right half started working.

Experience so far
So far the keyboard has been working very well. Like I said this is my first split keyboard so it will take some time getting used to. I also changed to the Eurkey layout which adds its own mental overhead. I think it will take a few months for me to become comfortable with this setup. Before that I don't think I can make my final judgements.